Shopping Cart
There are no more items in your cart


Bodyboard Maneuvers and transitions: beginner to advanced


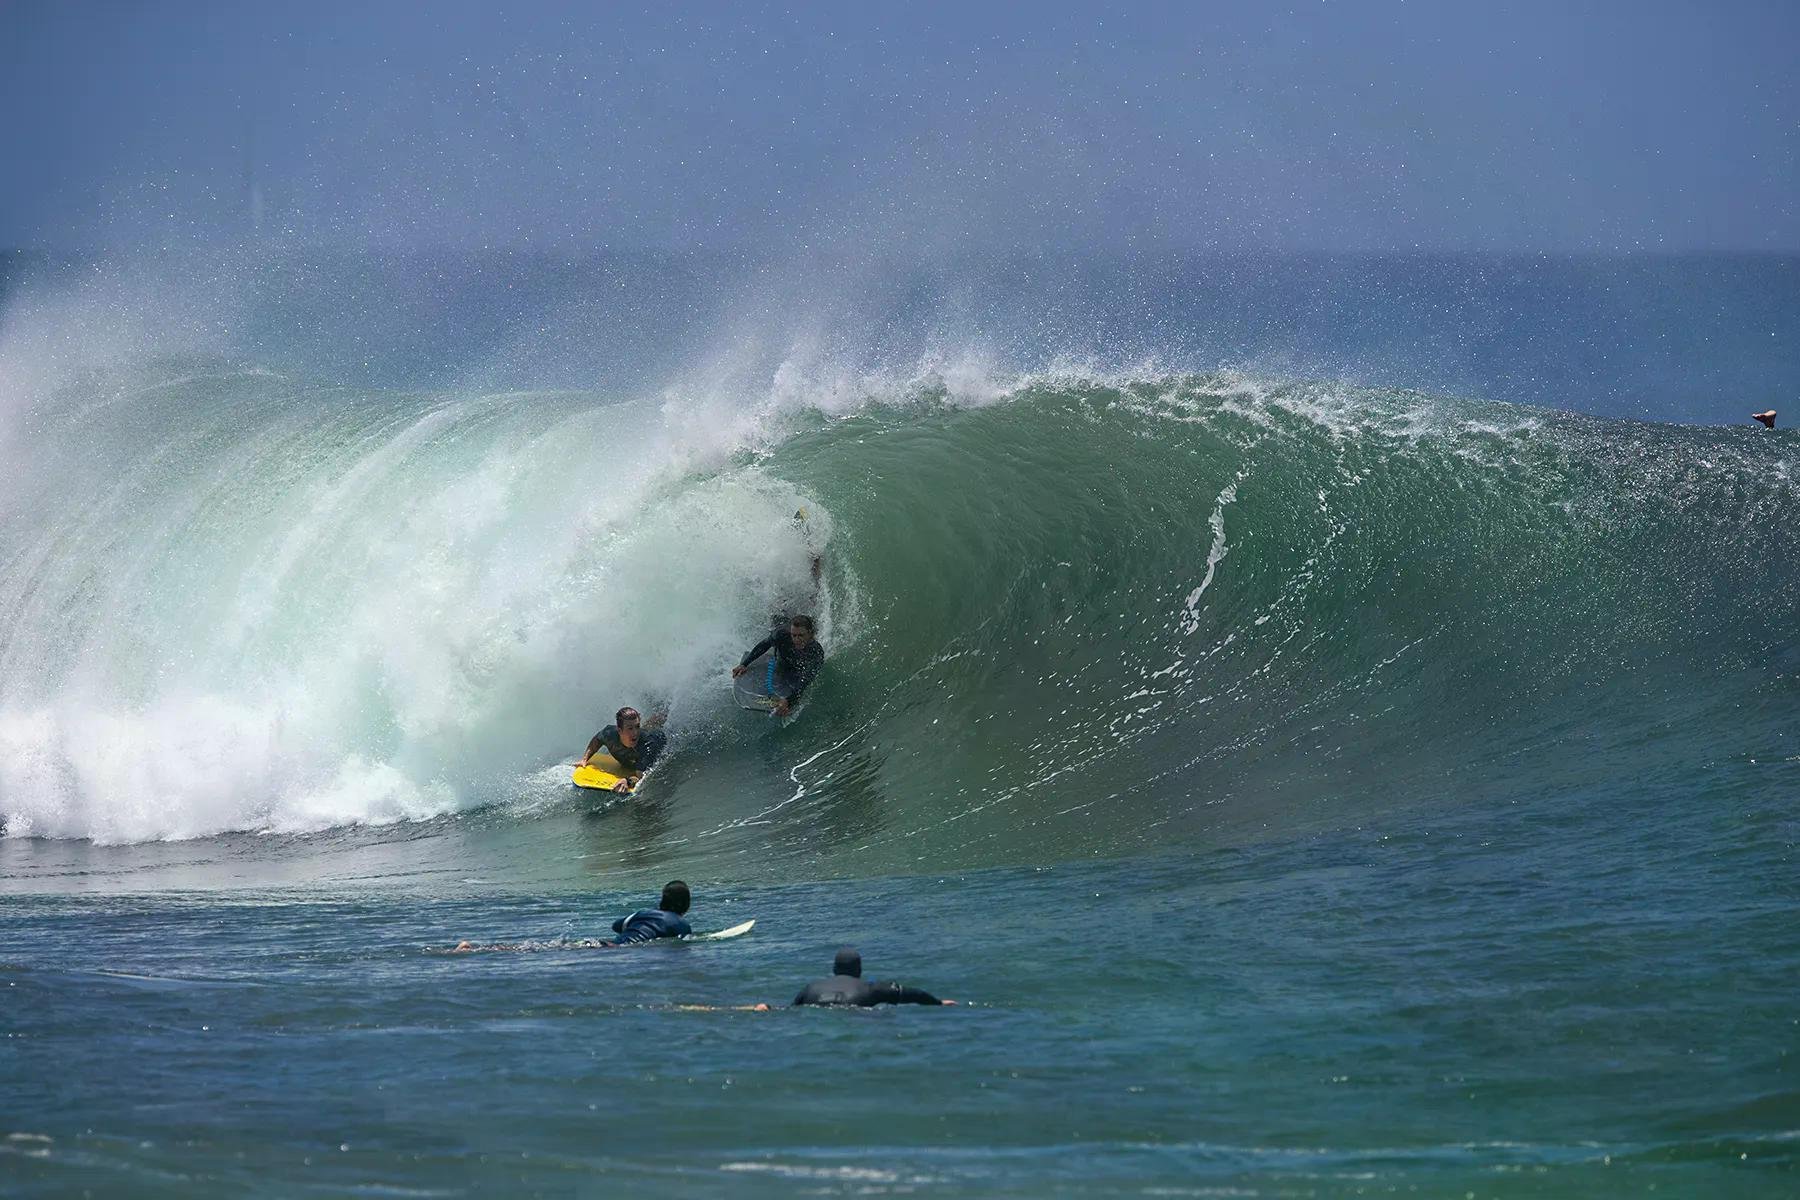
Linking bodyboard manoeuvres into one ride depends on line, speed and the transition between each move. The progression runs from prone positioning and trim through bottom turns, cutbacks and 360s to rolls and airs. At each stage, the wave decides which move fits, and recovering after it lets you link the next one.
Prepare to catch your first wave
Every move later in a ride depends on the first few seconds: how you lie on the board, what you ride and how you enter the face. Get these three right as a beginner and the turns that follow have a base to build on.

Position your body and hands
In prone riding, your chest and head sit far enough forward for the board to carry you without burying the bodyboard nose. Your legs stay within reach of the water. Too far back and they drag. Too high and your kicks lose their bite.
Your hands then set the direction. On a left-hand wave, your left hand holds the left nose corner and your right hand grips the opposite rail near your hip. On a right-hander, the grip is reversed.
That grip gives you leverage: the front hand and rear rail hand raise or lower the nose, engage a rail and steer. In practice, good technique means steering with your hands rather than wrenching the board round with your shoulders.
Set up your board and kit
According to Surfing England, common modern bodyboards measure 32–46 inches. A larger board generally makes catching waves easier. A smaller one turns more readily. The underside matters too: deeper channels and a crescent tail add hold, while a flatter slick and a bat tail release more easily for rotations. Choose the trade-off that suits the moves you plan to practise.
Fins give you the push to get into waves. Shorter blades suit quick bursts and release for spins, while longer blades favour sustained paddling and control. When you try them on, the foot pockets should hold your feet securely without crushing them. That fit matters as soon as you start learning your first manoeuvres and transitions.
Enter the wave and find trim
The instructor benchmark for beginners is a sandy beach without rips or hazards, peeling surf up to 1½ ft (0.5 m) and water no deeper than chest level. In those conditions, watch the set and position early. Then kick into an unbroken wave and angle towards its open face rather than straight at the shore. Engage your left rail on a left-hander, or the right rail on a right-hander.
With the rail set, you can trim, which means holding a useful line without constantly turning. Your fore-and-aft position controls it: too far back stalls the board, while too far forward makes the nose harder to control and turn.
Turn through the face and back to the curl
Once you can trim, the first bodyboard maneuvers to learn are turns. The bottom turn sends you up the face, the top turn brings you back down, and the cutback returns you to the power. These bodyboarding moves are how you manage speed between sections.

Drive a controlled bottom turn
The bottom turn is the entry turn for almost every move that follows. On a left hander, the sequence goes like this. On a right-hander, reverse the sides.
- Weight: load the left side of the board.
- Elbow: press your left elbow into the rail.
- Opposite rail: lift it with your right hand and raise your inside leg.
- Eyes: look towards the line you intend to take.
Draw an arc that keeps your speed before you head up the face. If you crank the turn too hard at the bottom, you can end up slow and underneath the next section. An approach of about 45° is one guide. In practice, the right angle depends on how steep the wave is, how fast the section runs, where you took off and what move comes next.
Redirect with top turns and re-entries
Once the bottom turn puts you near the curl, move back towards the board's centre. Ease the pressure from your hip and elbow, then slide slightly forward to pick up speed again. In the upper half of the wave, a top turn sends the board back down the face and can lead straight into another rail-to-rail turn.
A re-entry is the more committed version. Project upwards out of the bottom turn, meet the lip as it stands up and redirect down the face. Timing makes or breaks it: arrive early and you outrun the section, arrive late and the lip catches you.
Cut back towards the breaking section
Sometimes the turns carry you too far ahead of the breaking section. A cutback brings you back, turning from the shoulder towards the curl. Learn to cut back on a wave with a usable shoulder but no demanding lip or barrel. On a left-hander, climb to just below the top and put your weight on the outside rail. Press your right hand around its middle as a pivot, lift the left nose corner and turn right towards the inside.
During the arc, look towards where it ends rather than at the spray. Then turn left to rejoin the curl. You can make that return turn before the whitewater, or you can hit the whitewater as a re-entry.
Perform forward and reverse 360 spins
The 360 builds on the same rail control as the turns, then releases it for a full rotation. The difference comes down to direction: a forward spin and a reverse spin start from opposite cues, but both end the same way, with the rail engaged again.
Start a forward 360
A forward 360 can start on a flat wave section or in the white foam, as long as there is room to rotate. You do not need a throwing lip. On a left-hander, make a slight turn towards the face. Then slide forward until the face is roughly level with the board's nose.
Keep your body centred as you release the board, so that neither the nose nor the tail dives.
Rotate and stop the spin
Lift your legs clear of the water, and cross them if you like. Arch your back and lead the rotation with your head and eyes. Your shoulders follow. Near the end of the spin, one technique is to lower your legs into the water to create drag and stop the rotation.
Once the rotation is complete, drop your fins back in and engage a rail. Staying flat on the board leaves you with no speed and no line.
Reverse the direction and recover
For a reverse 360 on a left-hander, angle towards the top, move forward, lift your legs and arch your back. Then turn down the face while throwing your head and shoulders right, towards the tube.
Keep looking through the rotation, then recover the same way as after a forward spin. Worth knowing before you buy into the terminology: a reverse 360 on a left-hander spins in the same direction as a forward 360 on a right-hander.
Recovery depends on the section after either spin. On a steep section, shift your weight back to keep the nose from diving. On a flatter one, a bottom turn followed by a forward weight shift can build your speed back up.
Progress to lip moves and aerial manoeuvres
Turns and spins are intermediate maneuvers. The next stage uses the lip itself as a launch point. These manoeuvres need a steeper, throwing section and more speed, and each landing should feed into the next move.
Learn the el rollo
The el rollo is a roll through the lip. Approach a steep, throwing lip with speed on an angled line, much like an air. At contact, release the rail so it does not stay stuck in the curl.
With the rail free, arch your head and back and spot the landing. Let your board and body follow the lip's cylindrical motion so the underside of the board lands first.
Learn the setup before the rotation: launch point, speed, lip timing and keeping the board close to your body. Once you have those, focus on the roll itself, then engage a rail after landing.
Project an air towards a landing
An air needs a steep, pitching ramp, enough speed and a landing zone in front of the wave. Hit the lip at an angle rather than straight up. At takeoff, project your weight up and towards the front of the wave.
The landing is a transition, not the end of the ride. Get control of the rail back before you choose your next move. On the water, that matters.
Build advanced combinations carefully
The advanced instructor framework puts linked aerial combinations in surf up to 6 ft (2 m), at beach, reef, point and river-mouth breaks. At that level, combinations include the air roll spin, which combines a roll with an airborne spin. Its prerequisites are a solid el rollo and forward spin, with a bottom turn providing the projection. An invert rotates the board upside down above the lip. A backflip is a full backwards rotation off a powerful section, and for safety it requires particular care to protect your neck.
Link manoeuvres with line and speed
Each move above works on its own. To link them, you need to read what each section offers, keep your line between moves and know when to stop.
Read the section before choosing a move
Before you choose a wave and a move, check the swell, tide and wind. Note the type of wave, how often the sets come and whether it breaks left or right. Under the intermediate framework, riders link moves in the upper half of a sandy beach-break wave, below the lip, in surf up to 3 ft (1 m). The section in front of you then decides what fits:
- Defined shoulder: room to turn and cut back.
- Throwing lip: the steeper section a roll needs.
- Weak surf: smaller rail-to-rail movements keep momentum where a powerful cutback would cost speed.
Fast, hollow sections work the other way. Turn earlier and take a shorter line to the lip.
Connect turns without losing flow
One useful sequence starts with the turns: bottom turn, top turn, then roll. Another adds projection: bottom turn, projection, roll, then trim. Each landing should give you a line that reaches the next section.
Give each session one repeatable objective, such as angled take-offs followed by bottom turns. That works better than trying several unfamiliar tricks at once.
To check your progress, film 10 waves and watch the first 2 seconds after each landing. You are looking for whether the board finds a useful line, or whether it stalls, goes flat or over-rotates.
Adapt transitions and exit safely
In drop-knee riding, one knee rests towards the back of the deck and the other foot is planted near the front. Practise the sequence stable stance → trim → bottom turn → cutback → re-entry on softer, longer waves first.
Whatever your stance, a clean exit can be better than forcing another move into a closing section, a turbulent landing zone or shallow rocks. For UK sessions, the RNLI advises riding between the red-and-yellow flags, wearing a leash, checking conditions and following lifeguard instructions. If a rip catches you, the RNLI also advises keeping hold of your board.
Frequently Asked Questions
You can try a 360 on a flatter section, in whitewater, off the lip or in the air, either prone or drop-knee. Where there is a face but too little lip for a roll, a 360 can be an option. On a fast, hollow section, turn earlier and take a shorter line to the lip.
One mistake to avoid is trying to pivot the board abruptly, which can break the arc. Instead, shift your weight and let the outside rail carry the turn. Keep your eyes on the end of the arc, then turn back towards the curl.
With too little speed, the lip can catch you. With too much, you can shoot out ahead of the barrel. You can adjust speed with your body position and with drag from your fins.
Share this article: